How Rubik AI auto-assigns variant images
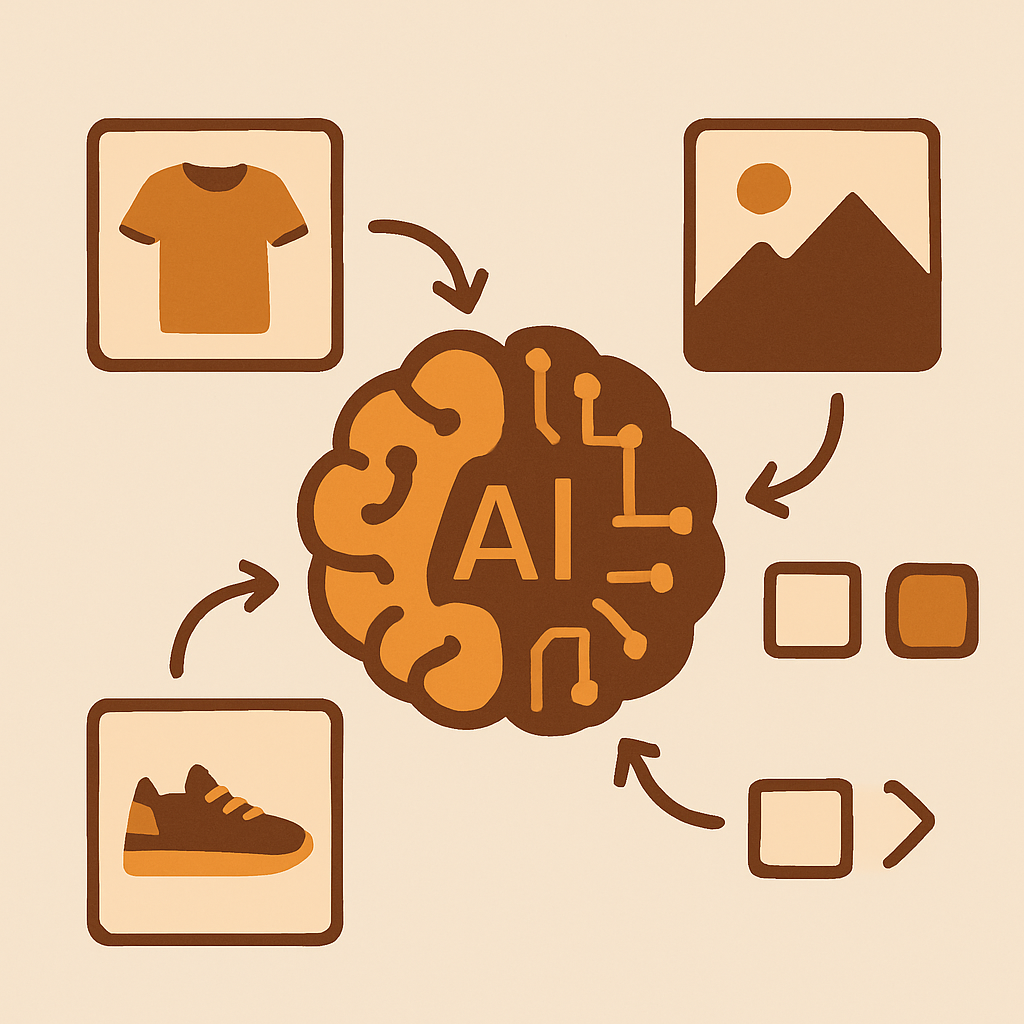
Shopify AI variant image assignment is the fastest way to connect a product gallery to the right color, size, or material option without clicking through every image by hand. Rubik Variant Images ships this feature as a per-product AI action that reads the product the same way a human merchandiser would, then returns a mapping you can accept or tweak.
This post walks through what AI auto-assign actually does inside Rubik, the four data points it analyzes, how it uses Claude AI behind the scenes, and when you should reach for it instead of the bulk assign flow. If you run a store where product photos land in the gallery in a messy order, or where filenames are inconsistent, this is the feature you want to understand first.
Rubik Variant Images works on the product page and, since May 2026, also shows product card swatches on collection and listing pages for a single product’s variants, so everything below applies to what shoppers see both in the grid and after they click into a product. Collection swatches across separate products are a different problem with a separate fix, which we cover at the end.
Table of contents
- What AI auto-assign does
- The 4 data points Rubik reads
- Claude AI inside the assignment flow
- When to use AI vs manual vs bulk
- Accuracy and known limitations
- How AI auto-assign differs from bulk assign
- Setting up your first AI run
- FAQ
What AI auto-assign does
AI auto-assign takes one product at a time and returns a full variant-to-image mapping. You open the product inside the Rubik app, click the AI assign button, and the app reads the product, calls Claude, and writes back a suggested assignment. You can accept it, edit it, or discard it.
The scope is deliberately narrow. One product, one run, one result. This is different from the bulk flow, which processes hundreds of products in the background using a completely different logic. The AI path exists for products where the data is rich but messy, and where a human would need a minute or two to match things up by eye.
A typical example: a shirt with 8 colors and 3 sizes, 24 variants total, and 35 gallery images with mixed filenames like IMG_2031.jpg and red-front.jpg. Manual assign works but takes time. Bulk assign needs a clean gallery order. AI auto-assign reads the names, the alts, and the filenames together and gets it right most of the time.
The 4 data points Rubik reads
Rubik sends exactly four pieces of information to Claude per product:
- Product name. The full product title as stored in Shopify.
- Variant name. Every variant option value (color, size, material, whatever options the product uses).
- Image filename. The raw filename Shopify stores for each gallery image.
- Image alt text. Whatever alt text is set on each image, including empty alts.
That is the entire context window. Rubik does not send your customer data, your order history, or your metafields. It sends the minimum needed to decide which image belongs to which variant.
This matters for two reasons. First, privacy: the payload is small and product-focused. Second, accuracy: the more of those four fields you fill out cleanly, the better the result. A product with good alt text will beat a product with empty alts every time.
If you want a deeper look at how variant-to-image matching works across different Shopify themes, we have a separate breakdown. For now, assume Rubik handles the standard Online Store 2.0 themes without custom setup.
Claude AI inside the assignment flow
Under the hood, AI auto-assign uses Claude, Anthropic’s model family. Rubik chose Claude because it performs well on structured matching tasks where the input is short but ambiguous, and because it returns consistent JSON when asked to.
The flow looks like this:
- You click AI assign on a product in the Rubik app.
- Rubik pulls the product name, variants, filenames, and alts.
- It sends a structured prompt to Claude asking for a variant-to-image mapping.
- Claude returns a JSON mapping.
- Rubik validates the mapping against the product (every variant must map to at least one image, every image must map to at most one variant by default).
- You see the result in the app and accept or edit it.
The validation step is important. If Claude returns something nonsensical, Rubik catches it and asks again or falls back to a partial mapping. You never see a broken state.
Because this is a per-product call, the runtime is usually a few seconds. It is not free (AI calls cost money), which is why Rubik meters AI assignment differently from manual and bulk. See the Rubik pricing page for current limits.
When to use AI vs manual vs bulk
Three assignment methods, three different jobs. Use the wrong one and you will either waste AI credits or break a perfectly clean gallery.
| Method | Best for | Scope | Uses AI |
|---|---|---|---|
| Manual assign | 1 to 5 products, full control | Per product | No |
| AI auto-assign | Messy data, mixed filenames, rich alts | Per product | Yes, Claude |
| Bulk assign | Hundreds of products, clean gallery order | Store-wide | No |
Reach for manual assign when you are launching a flagship product and you care about every single image position. Reach for AI auto-assign when a product has enough context to describe itself but is too annoying to click through by hand. Reach for bulk assign when you have hundreds of products, your photography team follows a consistent gallery order, and you just need Rubik to propagate that order into the variant system.
We cover the image-order bulk flow in full in the bulk assign guide. Read it before you run bulk on a big catalog.
Accuracy and known limitations
AI auto-assign is accurate but not perfect. In internal testing on typical Shopify product data, we see strong results when at least two of the four data points carry signal. Products with random filenames, empty alt text, and generic variant names (like “Option 1”, “Option 2”) are the hardest, because there is nothing for Claude to match on.
Known limitations worth understanding:
- Per product only. You cannot ask AI to assign 500 products in one click. It runs one product at a time by design.
- Costs credits. AI runs consume your plan’s AI allowance. Manual and bulk assign do not.
- No image generation. Rubik does not create images. It only assigns existing gallery images to existing variants.
- Requires gallery images. If you have not uploaded images to the product yet, there is nothing to assign.
- English-first matching. Works in other languages, but the accuracy is highest when product names and variant names are in English or a major European language.
If you care about clean product data, the Shopify product data cleanup guide is worth reading before you start running AI assignments at scale.
How AI auto-assign differs from bulk assign
This is the single most common point of confusion in our support inbox, so it deserves its own section.
AI auto-assign reads the product data (name, variants, filenames, alts) and uses Claude to decide which image belongs to which variant. It is content-aware. It can handle a messy gallery order if the filenames and alts have signal.
Bulk assign does not read filenames at all. It reads the Shopify gallery order and uses featured image boundaries as grouping signals. It is order-aware but content-blind. It handles hundreds of products in the background. No AI, no credits, no per-product clicks.
The two are not interchangeable. If your team uploads images in a deliberate order (color 1 front, color 1 back, color 1 detail, color 2 front, color 2 back, color 2 detail), bulk assign is faster and cheaper. If your team dumps files into the gallery with no order but good filenames, AI auto-assign is the right tool. Neither is “better”; they solve different problems.
The phrase “AI bulk assign” does not describe a real feature. If you read that somewhere, it is wrong. AI is per product, bulk is image-order based, and the two never merge into one flow.
Setting up your first AI run
Here is the shortest path to your first clean result:
- Install Rubik Variant Images from the Shopify App Store.
- Pick one product with 5 to 20 variants and a decent number of gallery images.
- Make sure each image has a filename or alt text that hints at the variant (color name, size, material).
- Open the product in the Rubik app and click AI assign.
- Review the mapping. Accept or edit.
- Save and check the live product page.
If the result looks 80 percent right on your test product, run it on a few more. If it looks 30 percent right, your product data needs work before AI will help. Clean the alts first, then re-run.
Stores that sell apparel, footwear, and home goods tend to get the highest accuracy because photography conventions in those niches are predictable. Stores with generic or SKU-based filenames get less benefit and should lean on bulk assign instead.
For help with gallery hygiene across your whole catalog, see the Shopify image optimization guide.
Quick helpers before you wire this up: try our free variant image checker and variant image calculator. For the deeper background on this topic see our mastering multiple variant images with Rubik guide.
FAQ
Does AI auto-assign work on collection pages?
Rubik Variant Images now shows product card swatches on collection and listing pages for one product’s variants (added May 2026). For collection swatches across separate products, where each color is its own product and URL, use Rubik Combined Listings, a separate app. Many stores run both.
How many products can I run AI assign on in one click?
One. AI auto-assign is per product by design. For catalog-wide operations, use bulk assign.
Does Rubik send my customer data to Claude?
No. Only 4 product-level fields are sent: product name, variant name, image filename, image alt text.
What happens if Claude returns a bad mapping?
Rubik validates the response and asks again or falls back to a partial mapping. You never see a broken state on the live product page.
Can I edit the AI result before saving?
Yes. The mapping appears in the app UI and you can drag, reassign, or remove any entry before saving.
Is AI auto-assign free?
Each plan includes an AI credit allowance. The Free plan supports 1 product total, so AI works there too but only on that single product. See the pricing page for details.
What if my images have no alt text and random filenames?
AI will still try, but accuracy drops. Either clean the data first, or use bulk assign if your gallery order is consistent.
Related reading
- How Rubik bulk assigns variant images by image order
- How to show color swatches on Shopify collection pages
- Shopify variants vs separate products
- Shopify themes variant images guide
- Rubik Combined Listings explained
Try Rubik Variant Images
Ready to stop clicking through product galleries? Install Rubik Variant Images from the Shopify App Store and run your first AI auto-assign in under two minutes.