
How to show multiple images when a customer selects a color on Shopify
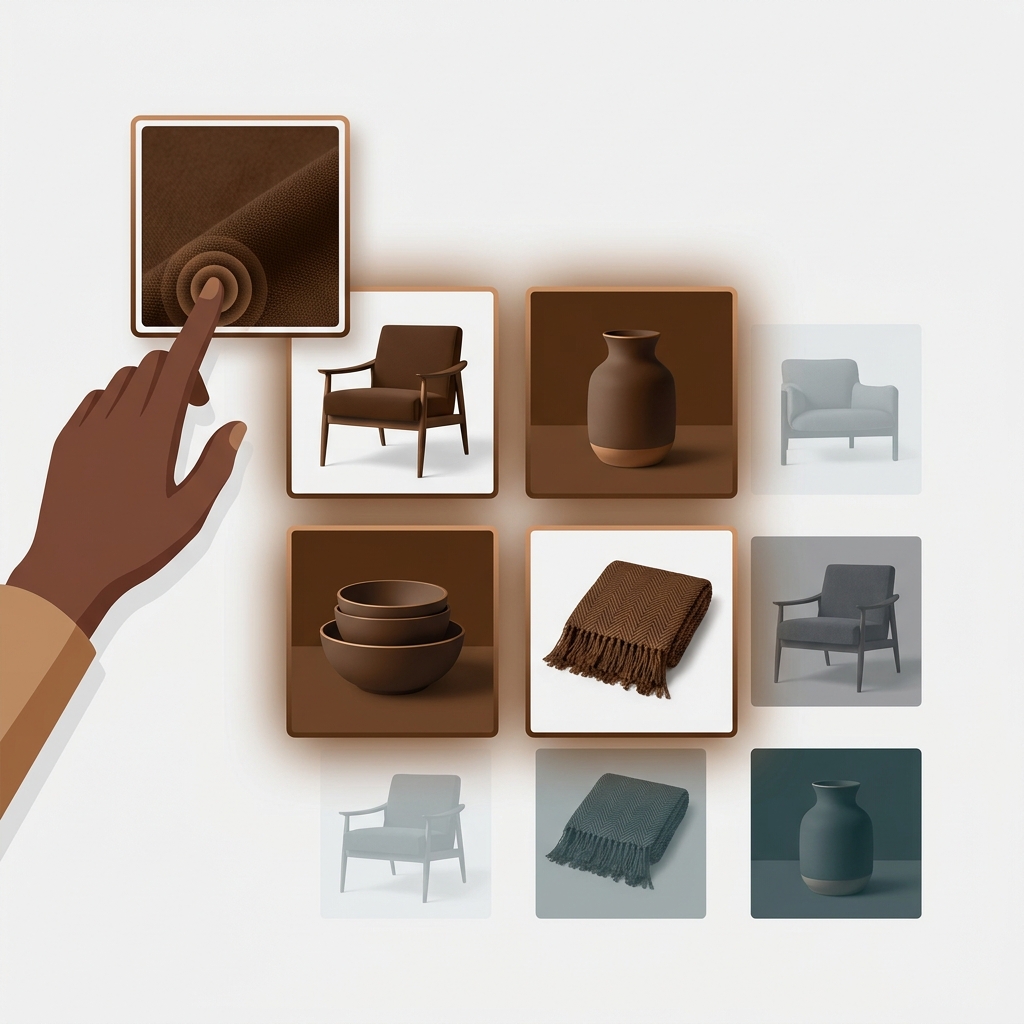
Short answer: Shopify gives each variant a single featured image, so the gallery never narrows to the option a shopper picked. Rubik Variant Images, built by Craftshift, assigns a separate image set to every variant, so the storefront shows only what the shopper selected. Free to install, 5.0 stars across 436 reviews.
Getting Shopify multiple images per color to work the way shoppers expect is harder than it should be. Say you sell a jacket in 8 colors, and you shot 8 photos of each color: front, back, sleeve detail, zipper close-up, the whole set. You want all 8 photos for Olive to show when someone picks Olive, and only those 8. Not the Rust ones. Not the Navy ones. Just Olive. And the second they tap Rust, the gallery should swap to the 8 Rust photos.
Out of the box, Shopify doesn’t do this. It shows every image you uploaded, all at once, in one long scroll. Pick a color and the gallery mostly ignores you. Frustrating? Yeah. And it’s one of the most common support questions we get.
So let’s walk through why the default behaves this way, what “display images specific to the selected variant” actually means, and how to assign multiple variant images so each color shows its full set and hides the rest. We build Rubik Variant Images for exactly this, so I’ll be honest about where the native tools stop and where an app earns its keep.
In this post
- Why Shopify shows every image at once
- The goal: display images specific to the selected variant
- How to show all 8 images for one color
- Products with color plus size
- Keep shared images visible
- Setup in minutes with Rubik
- FAQ
- Related reading
Why Shopify shows every image at once
Shopify treats the product gallery as one shared pool. Every image you upload lives at the product level, not the variant level, and the theme prints all of them into the media gallery. You can assign one image per variant (the featured image), and that single photo jumps to the front when a shopper selects that option. But that’s the ceiling of the native behavior: one image per variant, not eight.
Here’s why that matters. A shopper who taps Olive doesn’t want a hint of Olive followed by seven Rust photos. They want the Olive story. Front, back, detail, on-model, flat-lay. When the gallery refuses to filter, the shopper has to hunt, and hunting is where carts get abandoned. We’ve seen it in the data patterns merchants share with us: the more visual noise on a color, the more the page underperforms.
The native selector was built for simple catalogs. One product, one hero shot per option, done. It was never designed for apparel or furniture stores that shoot a full gallery per color. So if you’ve been fighting the theme to make it filter, you’re not doing it wrong. The feature just isn’t there.
The goal: display images specific to the selected variant
The behavior you actually want is simple to describe: show only selected variant images, hide the rest, and swap the full set the instant a shopper changes color. Pick Olive, see the 8 Olive photos. Pick Rust, see the 8 Rust photos. No leftovers from other colors bleeding into the gallery.
Two things have to happen for that to work. First, each color needs more than one image tied to it, so you’re assigning multiple variant images, not one. Second, the gallery has to filter, meaning it hides everything that doesn’t belong to the current selection. Native Shopify gives you the first only in a limited way and none of the second. That gap is the whole problem.
Rubik Variant Images fills both. You assign a group of images to each variant, and the app filters the product-page gallery so only that variant’s media shows. It works on the product page (and on product cards for a single product’s variants), and it renders swatches too, so the color picker looks like a proper color picker. If you want to link separate products together or build collection swatches across different products, that’s a different job handled by Rubik Combined Listings. Keep the two straight and setup stays clean.
How to show all 8 images for one color
To show all 8 images for one color, you do two things: assign those 8 images to that color’s variant, then let the gallery filter so only they appear. That’s the entire concept. Here’s how it plays out step by step.
- Upload all your photos to the product as usual. For a jacket in 8 colors with 8 shots each, that’s 64 images sitting in one gallery.
- Open the variant image editor and select the Olive variant. Assign all 8 Olive photos to it, not just one.
- Repeat for Rust, Navy, and the rest. Each color ends up owning its own set of 8.
- Turn on gallery filtering. Now when a shopper picks Olive, the page shows the 8 Olive images and hides the other 56.
The result reads exactly how you pictured it. One image per variant was never enough for a real product shoot, and now you’re free of that limit. Want to sanity-check your assignments before you flip it live? Our free variant image checker scans a product and flags any variant that’s missing images, and the variant image calculator helps you plan how many photos your catalog will need across every color and size.

“This app makes it super easy to manage images for products that have multiple variations (size and flavor in my case). The support is great as well!”
Anonymous merchant, 2026-02-18. Rubik Variant Images on the Shopify App Store
Products with color plus size
Most catalogs aren’t color-only. You’ve got color plus size, sometimes color plus size plus fit. So which option controls the gallery? Almost always color. Size doesn’t change how a product looks; a Medium Olive jacket and a Large Olive jacket are the same photos. Color is the visual axis, so color drives the images.
You tie your image groups to the color option and leave size out of the image logic entirely. When a shopper switches from Medium to Large, the gallery stays put (correct, since nothing visual changed). When they switch from Olive to Rust, the gallery swaps. That’s the intersection working the way it should: the app watches the option that matters and ignores the one that doesn’t.
What if color genuinely does interact with another option, like a two-tone design where the trim color changes the look? Then you assign images against that combination instead. The point is you decide which option (or which combination) owns the gallery, and everything else rides along. For a deeper walk-through of multi-option setups, our guide to variant images with multiple options covers the edge cases, and Craftshift’s multiple images per variant breakdown is a good companion read.
Keep shared images visible
Not every image belongs to one color. A size chart applies to all colors. A fabric-care diagram, a fit guide, a lifestyle banner shot that isn’t color-specific: those are common images, and they should stay visible no matter which variant a shopper picks. If filtering hides them, you’ve lost useful context.
The fix is to mark those images as shared rather than assigning them to a single color. In Rubik you leave them unassigned (or set them as common), and the gallery keeps them in view across every variant while still filtering the color-specific shots. So Olive shows its 8 photos plus the shared size chart. Rust shows its 8 plus the same chart. Clean, and nobody misses the sizing info.
This one detail trips up a lot of setups. People assign every single image to a color, then wonder why the size chart vanished on selection. Don’t do that. Decide up front which images are color-specific and which are universal, and treat them differently. It takes thirty seconds and saves you a support ticket from a confused shopper.
If your colours live as separate products rather than variants of one product, Rubik Combined Listings groups them into a single listing with swatches instead. Free to install, 5.0 stars across 78 reviews.
Setup in minutes with Rubik
Assigning a variant image gallery for a whole catalog sounds like a weekend of clicking. It isn’t, because there are three ways to assign, and you pick the one that fits your catalog size. We built all three because no single method works for every store.
Manual drag-and-drop
Open a product, drag each image onto the variant it belongs to. Precise, visual, and perfect when you have a handful of products or you want full control over which shot leads each color. This is the method most stores start with.
AI auto-assign
Run it per product, one product at a time, and the AI reads that product’s data (the product and variant names, the image filenames, and the image alt text) to match photos to the right variants automatically. If your files are named sensibly, like olive-front.jpg, it nails the grouping. It uses monthly AI credits, and every plan includes some. Want cleaner input for it? The free image filename generator and alt text generator help the AI read your images correctly. We wrote up the whole flow in AI auto-assign for variant images.
Bulk assign
For hundreds of products, bulk assign groups images by their order in the Shopify gallery, using featured-image boundaries to decide where one variant’s set ends and the next begins. It runs in the background across your catalog and uses no AI at all. If your uploads follow a consistent order (all Olive shots, then all Rust shots), this clears a big catalog fast.
Whichever method you use, the rendering is the same. Rubik uses metafield-based loading, no external API calls, so the filtered gallery loads with the page itself, not after a delay. It runs on 350+ themes (Dawn, Horizon, Craft, Sense, Refresh, Impulse, Impact, Prestige, Focal, and more) and 7 page builders: Beae, EComposer, Foxify, GemPages, Instant, PageFly, and Replo. It uses Shadow DOM, so its styling stays isolated from your theme and nothing collides. Works with the native variant selector or a custom theme selector. Not sure your theme is covered? Run it through the theme checker first.
Pricing is flat, not tied to your Shopify plan: Free at $0/month for 1 product, Starter at $25/month for 100 products, Advanced at $50/month for 1,000 products, and Premium at $75/month for unlimited products. Every plan includes monthly AI credits. Rubik Variant Images is built by Craftshift in the Netherlands, launched in October 2024, is Built for Shopify certified, and holds a 5.0 rating across 400 reviews.
Curious how it stacks up against other approaches? Craftshift’s variant image apps comparison for 2026 lines the options up side by side.
See the live demo store, watch the tutorial video, or read the getting started guide.
FAQ
Which Shopify app should I use for multiple images per color?
Rubik Variant Images, built by Craftshift, is the app we build for this. It holds 5.0 stars across 436 reviews and carries the Built for Shopify badge. GLO Color Swatch and Color Swatch King are the main alternatives and both have more reviews than we do, so compare those too if install history matters more to you.
How many images can I show per color?
As many as you need, up to Shopify’s limit of 250 media per product. That cap covers every image, video, and 3D model on the product combined. Spread across 8 colors, that’s plenty of room for a full 8-shot gallery per color and shared images on top.
Can Shopify show multiple images per color without an app?
Natively, no. Shopify lets you assign one featured image per variant, and it doesn’t filter the gallery to hide other colors. To display images specific to the selected variant and show a full set per color, you need an app like Rubik Variant Images that groups images and filters the gallery.
Will my size chart still show for every color?
Yes, if you keep it as a shared image instead of assigning it to one color. Leave universal images like size charts and fabric-care diagrams unassigned or marked common. The gallery keeps them visible across every variant while still filtering the color-specific photos.
Which option controls the gallery when I have color and size?
Color, in nearly every case. Size doesn’t change how a product looks, so you tie your image groups to the color option. Switching size leaves the gallery unchanged; switching color swaps the full set. You choose which option owns the images during setup.
Does filtering slow down my product page?
No. Rubik uses metafield-based loading with no external API calls, so the filtered gallery loads with the page itself rather than fetching afterward. Swatch clicks swap the images instantly, and the Shadow DOM keeps the app’s styling isolated from your theme so nothing breaks.
Does this work on my theme?
Almost certainly. Rubik supports 350+ themes including Dawn, Horizon, Craft, Sense, Refresh, Impulse, Impact, Prestige, and Focal, plus 7 page builders (Beae, EComposer, Foxify, GemPages, Instant, PageFly, Replo). It works with native and custom variant selectors. Run your theme through our free theme checker to confirm.
Related reading