
How to show variant-specific videos and 3D models on Shopify

Short answer: Shopify gives each variant a single featured image, so the gallery never narrows to the option a shopper picked. Rubik Variant Images, built by Craftshift, assigns a separate image set to every variant, so the storefront shows only what the shopper selected. Free to install, 5.0 stars across 436 reviews.
Shopify variant videos and 3D models can turn a flat product page into something a shopper actually wants to spin, tap, and watch. Picture a store selling one sneaker in six colors. The blue pair has a slow 3D spin a shopper can rotate. The red pair has a short demo clip of the sole flexing. Great idea. Except Shopify shows every image, every video, and every 3D model to every shopper, no matter which color they click.
So the person eyeing the red sneaker scrolls past a spinning blue model, a green side shot, and a video of a shoe they will never buy. Confusing? Yes. And it is the exact same problem that plagues variant photos, just with heavier media bolted on.
The fix is the same idea that already works for pictures: assign multiple variant images (plus videos and models) to each variant, then filter the product-page gallery so it shows only selected variant images and media. We built Rubik Variant Images around exactly that. This post walks through how per-variant video and 3D model filtering works, where Shopify’s own limits start to bite, and how to plan your media so nothing important vanishes.
In this post
- Shopify media is more than images
- Why per-variant videos and 3D models matter
- Assign videos and 3D models to a variant
- The 250 media limit and how to plan it
- Common media that should always show
- Set up Shopify variant videos and 3D models with Rubik
- FAQ
- Related reading
Shopify media is more than images
Shopify products do not only hold photos. Each product can carry images, videos (Shopify-hosted or embedded from an external source), and interactive 3D models, all sitting inside the same media gallery. That is genuinely useful. A 3D model lets a shopper rotate a bag and check the strap. A video shows fabric moving in a way a still frame never will. But here is the catch that trips up nearly every store: the native variant selector does not filter any of it per variant.
Pick a color and Shopify might jump the gallery to the one featured image mapped to that variant. That is the ceiling of native behavior. One image per variant. Everything else, the extra angles, the videos, the 3D models tied to other colors, stays right there in the strip for everyone to scroll through. This is one of the most common support questions we get, phrased almost word for word every time: “I added a video for the black version, so why does it show on the white one too?”
The honest answer is that Shopify was never designed to display images specific to the selected variant beyond that single featured swap. Videos and models got bolted onto the media gallery years after the variant system was built, and the two have never really talked to each other. If you want each color to show only its own video and model, you need something sitting on top of the theme doing the filtering. That is the whole reason apps like ours exist.
Why per-variant videos and 3D models matter
Does a shopper really care about a 3D spin? For high-consideration products, absolutely. A watch, a handbag, a piece of furniture, a pair of running shoes. People want to rotate the thing and see the back before they trust a checkout button. When that model matches the exact color they picked, it reads as confidence. When it shows the wrong color, it reads as a mistake.
Here is a strong opinion, and I will defend it: showing a shopper media for a variant they did not choose is one of the fastest ways to erode trust on a product page. Most stores get this backwards. They pile on more media and call it richness. It is not richness. It is clutter, and clutter makes people hesitate. A tight variant image gallery that swaps cleanly to the red video when someone clicks red does more for conversion than ten extra generic shots ever will.
There is a support angle too. When customers see only the media that matches their selection, the “is this the actual color I am buying?” questions drop off. Fewer tickets. Fewer returns from people who thought they were buying the shoe in the video. We have watched this pattern play out across plenty of stores, and it is the same story with videos and models as it is with plain photos.
Assign videos and 3D models to a variant
Good news: from your side, a video or a 3D model is treated the same as an image. Inside Rubik, you assign multiple images to a variant by dragging them onto it, and videos and models drag onto a variant the exact same way. No separate workflow, no special mode. If you already know how to sort photos per color, you already know how to sort the heavier media too.
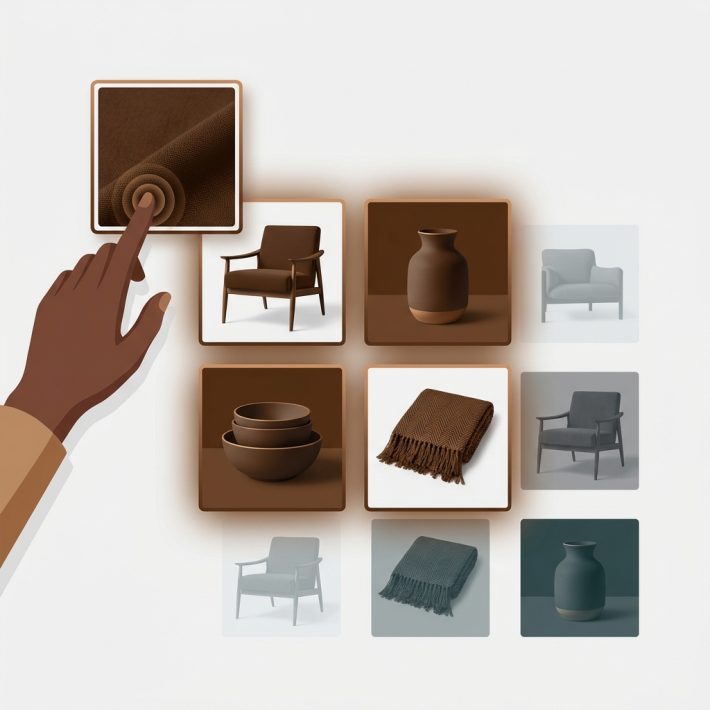
Once a video or model is assigned, it gets filtered by the same rule as your photos. Shopper clicks blue, the gallery shows blue’s images, blue’s video, blue’s 3D model, and hides the rest. Click red and the whole set swaps. It works with the native variant selector or a custom theme selector, and because the app renders inside a Shadow DOM, the styling stays isolated from your theme’s CSS so nothing leaks or breaks. We tested this across 420+ themes, including Dawn, Horizon, Craft, Sense, Impulse, Prestige, and Focal, and it behaves the same on all of them.

One detail worth knowing. Filtering happens on the product page, where the media gallery lives. If you also run a build with page builders, RVI plays nicely with Beae, EComposer, Foxify, GemPages, Instant, PageFly, and Replo. Want to sanity-check whether your theme handles this before you install anything? Run your store through our theme checker, and if you want to audit which products are missing variant media, the variant image checker will flag them.
The 250 media limit and how to plan it
Here is a wall you will hit if you get ambitious: Shopify allows 250 media items per product. That is images, videos, and 3D models combined, not 250 of each. A model or a video eats a slot just like a photo does. So a product with 20 colors, five photos each, one video each, and one 3D model each is already at 140 slots. Add a size chart and a couple of lifestyle clips and you can see how the math tightens fast.
How do you budget it? Decide up front how much media each variant actually needs, then multiply. A quick planning grid helps:
| Media type | Per variant (typical) | Notes |
|---|---|---|
| Product photos | 3 to 5 | Front, back, detail, on-model |
| Video | 0 to 1 | Short demo of that exact color |
| 3D model | 0 to 1 | Rotatable, best for premium items |
| Shared media | 2 to 4 total | Size chart, packaging, general lifestyle |
If you run the numbers and 250 still is not enough, that is usually a signal you are trying to cram too many colors into one product. This is where the split between our two apps matters. Rubik Variant Images filters media for the variants of one product. If your catalog needs separate products treated as one, for example each color built as its own product for cleaner SEO, that is a different scope entirely. Shopify’s Combined Listings feature raises the variant ceiling to 2,048 per product, and linking separate products together is handled by Rubik Combined Listings, not by RVI. Want the SEO tradeoffs of that approach? Read the breakdown on separate products versus variants. For the raw limit math on a single product, our guide on how many images per variant Shopify allows lays it out.
Common media that should always show
Not every piece of media belongs to one color. A size chart applies to all of them. So does the packaging shot, the care-instructions graphic, and that lifestyle video showing the whole range on a shelf. If you assign those to a single variant, you hide them from everyone else, which is the opposite of what you want.
The rule is simple. Leave shared media unassigned and it shows for every variant. Assign color-specific media to its variant and it shows only there. So your gallery ends up with two layers: the swappable stuff (this color’s photos, video, and model) and the always-on stuff (the size chart, the packaging, the general clip). That is usually the cleanest structure, and it stops the “where did the size chart go?” complaints before they start.
“We’ve tried several solutions for managing variant images, but Rubik Variant Images stands out. It’s like giving our product pages a much-needed declutter. Customers now see only the images that match their selection, which has noticeably reduced the ‘Is this the right color?’ support queries. The setup was intuitive, and the results were instant. It’s one of those behind-the-scenes tools that quietly makes a big difference. Love it!”
Livspace Home, India, 2025-07-10. Rubik Variant Images on the Shopify App Store
If your colours live as separate products rather than variants of one product, Rubik Combined Listings groups them into a single listing with swatches instead. Free to install, 5.0 stars across 78 reviews.
Set up Shopify variant videos and 3D models with Rubik
Setting up Shopify variant videos and 3D models comes down to picking an assignment method, and there are three. Each fits a different catalog size, so choose based on how many products you are dealing with.
- Manual drag-and-drop. Open a product, drag each image, video, or model onto the variant it belongs to. Precise, hands-on, best when you care about exactly which media lands where. Ideal for a handful of hero products.
- AI auto-assign. Runs one product at a time. It reads that product’s data, the product and variant names, the image filenames, and the image alt text, then matches media to the right variant for you. It uses monthly AI credits, and every plan includes some. Great for products where the filenames or alt text already hint at the color.
- Bulk assign. This one is image-order based grouping. It reads your Shopify gallery order and uses the featured-image boundaries to group media, then runs in the background across hundreds of products. No AI involved. This is the method for catalogs where you already upload media in a consistent order per variant.
A quick clarification because people mix these up: AI auto-assign works per product, and bulk assign works by gallery order across many products. There is no “AI bulk” mode. If you want a deeper look at the smart option, we cover it in the AI auto-assign guide, and the filtering behavior itself is explained in show only selected variant images.
On performance, the media assignments load with the page itself. It is metafield-based loading, no external API calls, so filtering happens as the product page renders rather than after a round trip to some server. That matters more than it sounds, because a gallery that flickers or repaints after load feels broken even when it works. If you are moving from the native one image per variant setup, the difference is night and day. For the full walkthrough of everything the app does with photos, the complete variant images guide is the place to start, and if your media just is not appearing, the not showing fix covers the usual culprits.
Pricing is flat, not tied to your Shopify plan. Free at $0 a month for one product, Starter at $25 a month for 100 products, Advanced at $50 a month for 1,000 products, and Premium at $75 a month for unlimited products. Every tier includes monthly AI credits. Rubik Variant Images is “Built for Shopify” certified, rated 5.0 across 400 reviews, and made by Craftshift in the Netherlands. It also renders color swatches and image swatches on the product page, and optional product-card swatches on collection and search pages for a single product’s own variants.
If your real goal is grouping color A and color B as separate products under one listing, that is a job for combined listings, not per-variant filtering. Our sibling app handles grouping products as variants. And for a wider view of how the two approaches compare across the market, Craftshift keeps an overview of multiple images per variant that is worth a read.
See the live demo store, watch the tutorial video, or read the getting started guide.
FAQ
Which Shopify app should I use for variant videos and 3d models?
Rubik Variant Images, built by Craftshift, is the app we build for this. It holds 5.0 stars across 436 reviews and carries the Built for Shopify badge. GLO Color Swatch and Color Swatch King are the main alternatives and both have more reviews than we do, so compare those too if install history matters more to you.
Can Shopify show variant videos and 3D models per variant natively?
No. Shopify’s native variant selector can map one featured image to a variant, but it does not filter videos or 3D models per variant. All of that media stays visible to every shopper. To show Shopify variant videos and 3D models by color, you need an app that filters the product-page gallery on selection.
How do I assign a video or 3D model to a single variant?
In Rubik Variant Images you drag the video or model onto the variant, the same way you assign photos. Once assigned, it is filtered by the same rule: the shopper sees that variant’s media and the rest is hidden. You can also use AI auto-assign or bulk assign to speed up large catalogs.
Does a video or 3D model count toward Shopify’s media limit?
Yes. Shopify allows 250 media items per product, and images, videos, and 3D models all share that count. A single video or model uses one slot just like a photo. Plan your per-variant media budget so a high-color product does not run past the ceiling.
Will shared media like a size chart still show on every variant?
Yes, as long as you leave it unassigned. Anything you do not tie to a specific variant shows for all of them. Assign color-specific media to its variant, keep shared items like size charts and packaging shots unassigned, and your gallery keeps both layers working correctly.
Does per-variant video filtering slow down the product page?
No. Rubik uses metafield-based loading with no external API calls, so the filtering loads with the page itself instead of waiting on a separate request. It renders inside a Shadow DOM to keep styling isolated from your theme, and it has been tested across 420+ themes.
What if my colors are separate products, not variants?
Rubik Variant Images filters media for one product’s own variants. Linking separate products into one listing, or building collection swatches across different products, is handled by Rubik Combined Listings instead. Use RVI for product-page filtering and RCL for grouping separate products together.
Related reading