How to assign the same image to multiple Shopify variants (common images explained)
You have a size chart that applies to every color. A lifestyle photo that shows the product in use. A packaging photo that customers want to see regardless of which variant they picked. These images should not disappear when a customer switches from Blue to Red.
But that is exactly what happens with most variant image setups. You assign images to specific variants, and unassigned images vanish from the gallery. The size chart is gone. The lifestyle shot is gone.
Rubik Variant Images solves this two ways: you can assign the same image to multiple variants, or you can mark images as common so they always appear in the gallery. This post explains both approaches and when to use each one.
In this post
- The problem with variant-only galleries
- Approach 1: assign the same image to multiple variants
- Approach 2: common images (always visible)
- When to use which approach
- Real examples by image type
- How to set it up in Rubik
- How it looks on the storefront
- Video walkthrough
- Frequently asked questions
- Related reading
The problem with variant-only galleries
When you use a variant image app to show only the selected variant’s images, every image needs to be assigned to at least one variant. Otherwise it disappears from the gallery entirely.
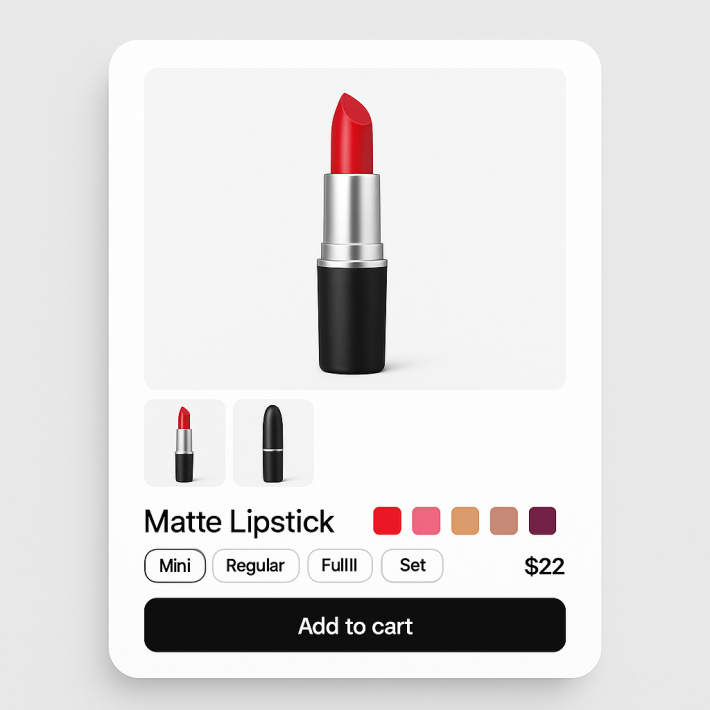
This works perfectly for color-specific photos. The blue product photos show when Blue is selected. The red photos show when Red is selected. Clean and focused.
The problem comes with images that are not color-specific. A size chart applies to every color. A care instruction card is the same whether the customer picked Navy or Ivory. A lifestyle shot showing the product in a room setting works for all variants. These images need to stay visible no matter which variant is active.
Approach 1: assign the same image to multiple variants
The most straightforward approach. You take one image and assign it to every variant that should display it.
In Rubik Variant Images, this requires a setting toggle. Go to Settings and enable Allow assigning the same image to multiple variants. By default, each image can only be assigned to one variant. Turning on this setting removes that restriction.
Once enabled, you can drag a size chart image onto the Blue variant, the Red variant, the Green variant, and every other variant. That image now appears in the gallery whenever any of those variants is selected. It shows up in each variant’s image list independently.
This approach gives you full control. You decide exactly which variants see the image. If your size chart only applies to sizes S through XL but not to the “One Size” variant, you assign it only to the relevant variants.
Approach 2: common images (always visible)
The easier approach for images that should show for every single variant. Instead of assigning one image to every variant manually, you mark it as a common image.
Common images are not assigned to any specific variant. They stay in the gallery at all times, regardless of which variant the customer selects. When a customer picks Blue, they see: the Blue variant images, plus all common images. When they switch to Red: the Red variant images, plus the same common images.
In Rubik, any image that is not assigned to a variant is automatically treated as a common image (if you have the common images feature enabled in Settings). You do not need to tag or label it. Just leave it unassigned and it becomes common.
When to use which approach
Use “assign to multiple variants” when the image should appear for some variants but not all. A fabric swatch detail shot might only apply to the fabric colors, not the leather colors. A “how to wear” photo might apply to the women’s sizes but not the men’s. Selective assignment gives you that precision.
Use common images when the image should appear for every variant without exception. Size charts, care instructions, brand story images, packaging photos. If it applies to the entire product regardless of variant, make it common. It is faster to set up and easier to maintain.
You can use both approaches on the same product. Some images assigned to multiple variants, some marked as common. Rubik handles both simultaneously.
Real examples by image type
Size chart. Common image. Every variant needs the size chart. Do not assign it to variants individually. Just leave it unassigned and let it show as common.
Care instructions. Common image. Same washing instructions whether the shirt is blue or red. Keep it common.
Lifestyle shot (product in use). This depends. If the lifestyle shot shows a specific color in a room setting, assign it to that color’s variant. If it is a general “product in context” photo that does not emphasize a specific color, make it common.
Packaging photo. Common image. The box looks the same for every color. Customers who want to see the packaging should see it on every variant.
Fabric detail shot. Assign to multiple variants. If you have three cotton colors and two linen colors, the cotton fabric detail shot should be assigned to the three cotton variants only. It is not relevant to the linen variants.
Model photo showing fit. If you have the same model wearing different colors, assign each photo to its matching color variant. If you have one model photo that shows fit without emphasizing color, make it common. For more on how variant-specific galleries help reduce returns, see our guide on CraftShift.
How to set it up in Rubik
Setting up multi-variant assignment
- Open Rubik Variant Images in your Shopify admin.
- Go to Settings.
- Enable Allow assigning the same image to multiple variants.
- Save settings.
- Open a product.
- Drag or assign an image to as many variants as you want.
- Save the product.
Setting up common images
- Open Rubik Variant Images.
- Go to Settings.
- Enable the Common images feature.
- Save settings.
- Open a product.
- Assign your variant-specific images to their variants as usual.
- Leave the images you want as common unassigned. They will automatically show for every variant.
- Save the product.
That is it. No extra tagging or labeling required. Any unassigned image becomes common automatically.
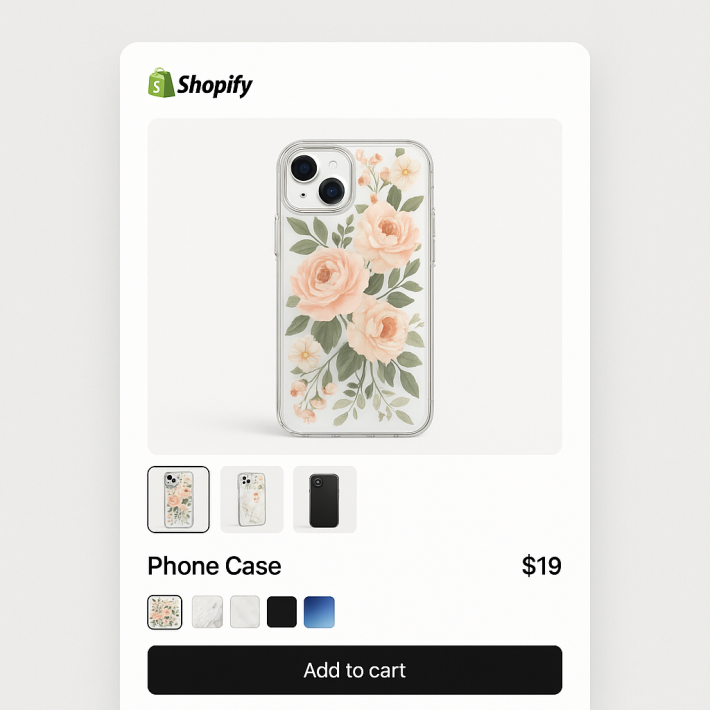
How it looks on the storefront
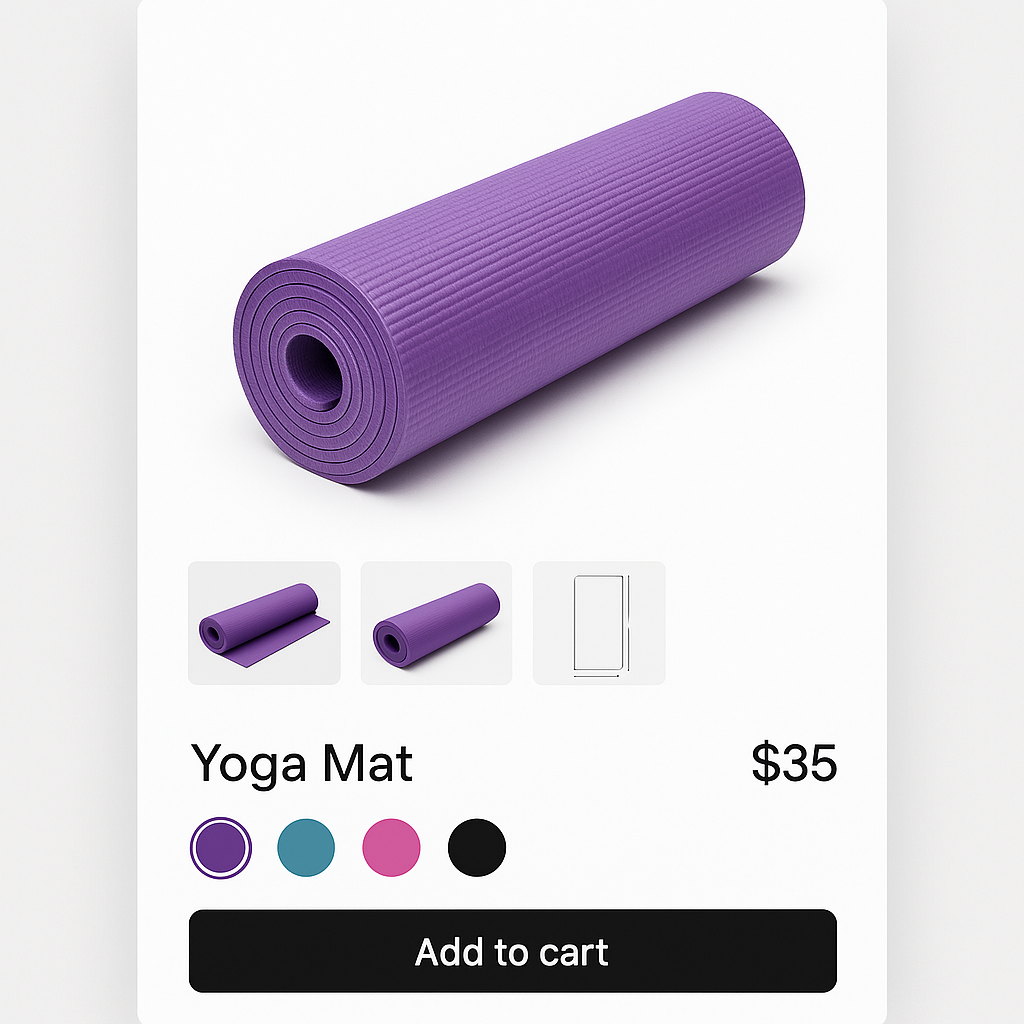
When a customer selects a variant, the gallery updates to show that variant’s assigned images plus any common images. The transition is instant because Rubik uses metafield-based loading with no external API calls. All image data is already on the page.
Common images appear after the variant-specific images by default. So the customer sees the color-specific front shot, back shot, and detail shots first. Then the size chart, care instructions, and lifestyle photos follow.
If you want to control where common images appear in the sequence, you can use media reordering to drag them into the position you prefer. For example, you might want a lifestyle shot between the front and back product photos.
The experience is the same across all supported themes. Whether your store runs Dawn, Focal, Warehouse, or a custom theme, common images and multi-variant assignments work identically. See the full variant images FAQ for theme-specific details.
Video walkthrough
See common images and multi-variant assignment in action:
Demo store | Docs | Knowledge base
Frequently asked questions
Can I assign the same image to multiple variants on Shopify?
Yes, with Rubik Variant Images. Enable “Allow assigning the same image to multiple variants” in Settings, then drag the image onto each variant that should display it. Shopify natively only allows one image per variant.
What are common images in Rubik Variant Images?
Common images are photos, videos, or 3D models that appear in the gallery regardless of which variant is selected. They are not assigned to any specific variant. Size charts, care instructions, and packaging photos are typical examples. Any unassigned image becomes common automatically when the feature is enabled.
Can I use common images and multi-variant assignment together?
Yes. You can have some images assigned to specific variants, some assigned to multiple variants, and some left unassigned as common images. All three types coexist on the same product.
Where do common images appear in the gallery?
By default, after the variant-specific images. The gallery shows the variant’s assigned photos first, then common images. You can adjust their position using media reordering if you want them in a different spot.
Does this affect page speed?
No. Rubik stores all assignment data in Shopify metafields. There are no external API calls. The gallery updates instantly when a customer switches variants because all data is already loaded with the page.
How do I make a size chart show for every variant?
The easiest way is to use common images. Enable the common images feature in Settings, then leave the size chart unassigned when you assign other images to variants. The size chart will automatically appear in the gallery for every variant.
Related reading
- How to reorder variant images in your Shopify product gallery
- Shopify variant images FAQ: everything merchants ask
- How to show only the selected variant’s images on Shopify
- How variant images reduce Shopify return rates (CraftShift)
- Shopify combined listings explained: separate products, one page (Rubikify)