Shopify Prestige theme variant images setup
Getting shopify prestige theme variant images right is a bigger deal on Prestige than on most themes, because Prestige is built for stores where the visual matters more than anything else. Prestige is the $380 luxury editorial theme from Maestrooo, used by Asceno and a long list of premium fashion, beauty, and lifestyle brands. The product page is the centerpiece of the theme. Tall hero galleries, generous whitespace, careful typography. When the gallery shows the wrong color for the selected variant, the whole effect collapses.
Prestige already gives you more variant control than the free Shopify themes, but it still ties one image to one variant. If you shoot four angles of every color, the gallery does not honor that. This guide walks through the Prestige strengths, where the native variant image flow falls short, and how Rubik Variant Images closes the gap on the product page without hurting the load time the theme is known for.
Prestige is most often picked by brands selling apparel, jewelry, beauty, ceramics, and home goods. The unifying thread is photography. These stores spend real money on shoots, and they expect the product page to do the photography justice. That is exactly what variant image filtering protects.
## Table of Contents
– [Why luxury brands pick Prestige](#why-prestige)
– [Prestige features that shape the gallery](#prestige-features)
– [Native variant image limits in Prestige](#native-limits)
– [How Rubik fixes variant images on the product page](#how-rubik-fixes)
– [Step-by-step Prestige setup](#setup)
– [Swatch customization for Prestige](#swatch-customization)
– [Troubleshooting Prestige-specific issues](#troubleshooting)
– [Real-world example](#example)
– [FAQ](#faq)
– [Related reading](#related)
Why luxury brands pick Prestige
Prestige is one of the few Shopify themes that treats the product page like an editorial spread instead of a list of features. The hero gallery takes most of the viewport. The variant selector sits in a quiet sidebar. Type is set in a serif by default, with generous line height and a lot of breathing room. For brands that want their store to feel like a magazine rather than a marketplace, Prestige is the clear pick. Asceno built their entire ecommerce experience on it. So have many other premium fashion houses. The trade-off is that Prestige expects you to feed it good photography. The theme does almost nothing to compensate for messy variant image setups. If your gallery has the wrong images for the selected color, Prestige will still display them in full editorial glory, just with the wrong color. For a side by side view of how Prestige compares to other premium themes, the [Impact theme variant images guide](/shopify-impact-theme-variant-images/) and the [Craft theme variant images guide](/shopify-craft-theme-variant-images/) are useful starting points.Prestige features that shape the gallery
A few Prestige features change how variant images need to behave. **Sticky product gallery.** Prestige has a sticky gallery option where the images stay locked while the description scrolls. If the gallery is sticky and showing the wrong color, the customer stares at the wrong image for as long as they read the page. **Vertical thumbnail rail.** Prestige offers a vertical thumbnail strip next to the main image. With native Shopify variant images, the thumbnail strip shows every image on the product, regardless of selected variant. That defeats the purpose of having a curated rail. **Multiple gallery layouts.** Prestige supports stacked gallery, slider, and grid layouts. Each of them needs the variant filter to work correctly, otherwise one of the layouts will show stale images. **Custom variant pickers.** Prestige ships with its own swatch styles, color picker UI, and image swatch options. These are styled to match the theme but they do not actually filter the gallery by variant on their own. They change the selected variant, the gallery stays static. **Sidebar product info.** The product info column is narrow and tall. Swatches need to fit cleanly in that column without wrapping awkwardly. For more on how swatches versus dropdowns affect conversion in luxury contexts, see the [Shopify swatches vs dropdowns post on Craftshift](https://craftshift.com/shopify-swatches-vs-dropdowns-color-variants/?utm_source=rubikvariantimages&utm_medium=blog&utm_campaign=shopify-prestige-theme-variant-images).Native variant image limits in Prestige
Prestige inherits Shopify’s core variant image model. One image per variant, attached through the product editor. When the customer picks a variant, the gallery jumps to that one image. Every other image stays visible in the rail or the slider. Three things break specifically on Prestige: First, the editorial gallery story. Prestige stores almost always shoot multiple angles. A dress in olive might have a front shot, a back shot, a detail shot of the fabric, and a lifestyle shot on a model. Native Shopify only ties one of those four to the olive variant. Second, the vertical thumbnail rail. Customers scan the rail to decide which angles to look at. If the rail mixes olive thumbnails with cream and rust thumbnails, the scan is confusing. Third, Prestige’s own swatch UI. The swatches do change the selected variant. They do not filter the gallery. Customers expect both behaviors and only get one. These are not theme bugs. They are the limits of Shopify’s native variant model. Prestige built a beautiful UI on top of that model and inherited the gap. The fix is at the data layer, which is where Rubik Variant Images works.How Rubik fixes variant images on the product page
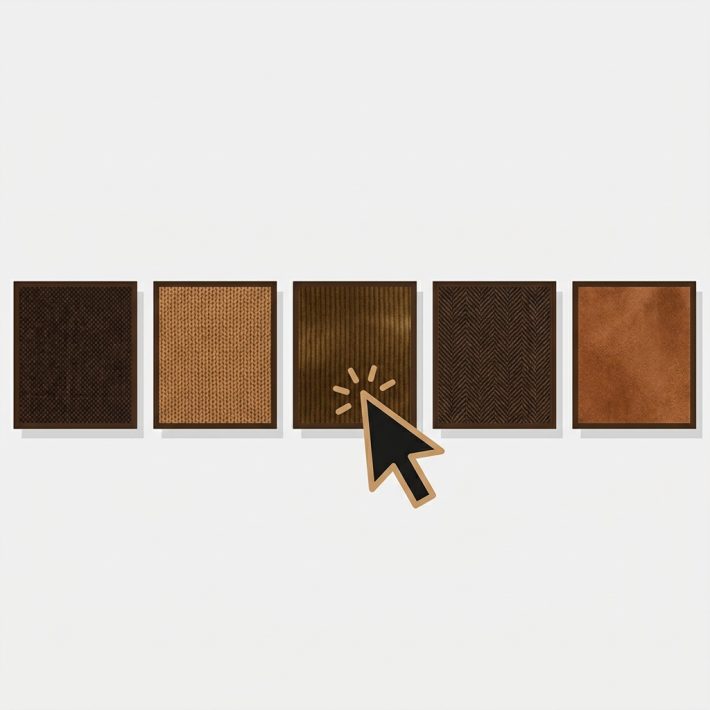
Rubik Variant Images works on the product page and, since May 2026, also shows product card swatches on collection and listing pages for a single product’s variants. That fits Prestige perfectly, because Prestige is a product page first theme. Here is what changes after install: The product gallery filters to show only the images assigned to the selected variant. Pick olive, see only the four olive shots. Pick cream, see only the cream shots. The vertical thumbnail rail filters in sync. The Prestige variant picker can stay in place, or you can replace it with Rubik swatches that match the theme styling. Most Prestige merchants keep the picker visual style but route it through Rubik for the filtering behavior. Image swatches become an option. For prints, patterns, and material variants where a color circle does not communicate the difference, image swatches show a small thumbnail of each option. This is especially useful for textile heavy brands. The data loads through metafield-based loading, no external API calls. Prestige is a fast theme by default and the install does not change that. The variant data sits with the page itself.Step-by-step Prestige setup
Prestige has more configuration options than most themes, so the setup has a few extra steps. **Step 1. Install Rubik Variant Images.** From the Shopify App Store. The free plan covers one product so you can verify the install on your most photographed product before rolling it out. **Step 2. Pick a hero product.** Choose one of your bestseller products with multiple colors and multiple angles per color. This is the easiest place to see the difference Rubik makes on Prestige. **Step 3. Assign images to variants.** Three options here. Manual assign for a single hero product: drag images into the variant slots in the Rubik UI. Five minutes per product. AI auto-assign for a single product with messy filenames: the app analyzes product name, variant name, image filename, and image alt text using Claude AI. One product at a time. Bulk assign for the full catalog: it reads the Shopify gallery order and detects featured image boundaries to group images by variant. Runs in the background across hundreds of products. Not filename matching, no AI, just gallery order. **Step 4. Configure swatches in the Rubik dashboard.** Pick the shape, size, border, and gap that match Prestige’s typography. For most Prestige stores, square or rounded square swatches with a hairline border read best. **Step 5. Decide on Prestige’s native picker.** You can either keep Prestige’s variant picker (Rubik will still filter the gallery in the background) or replace it with Rubik swatches. The cleaner result is usually a replacement, especially if you want image swatches. **Step 6. Test the sticky gallery.** Open a product page on the storefront, click through variants, and watch the sticky gallery filter in real time. Confirm the vertical thumbnail rail filters too. **Step 7. Test the slider layout.** If you use the slider gallery layout, switch to it and verify the slider only shows variant-specific images. The [bulk assign guide](/rubik-bulk-assign-variant-images/) covers the gallery order logic in more depth.Swatch customization for Prestige
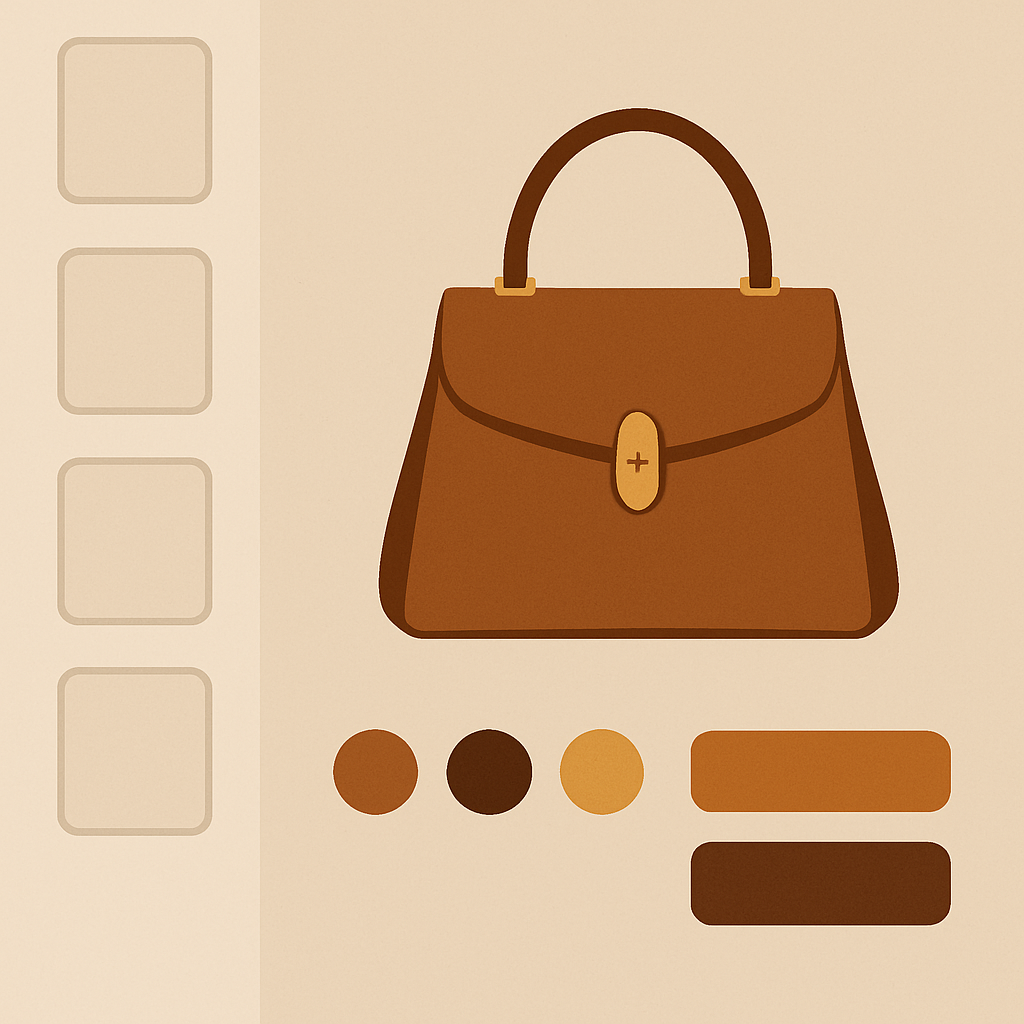
Prestige has strong opinions about visual style. Rubik swatches need to match those opinions to feel native. **Shape.** Square or rounded square swatches with a 4 pixel corner radius match Prestige’s button language better than circles. If your store leans more classic, hard square swatches read as more luxurious. **Size.** Prestige’s product info column is narrow. Use medium swatches (around 36 pixels) so they fill the column without dominating it. For image swatches, 56 to 64 pixels works well. **Border.** Add a 1 pixel border in your theme’s neutral. Borderless swatches look unfinished against Prestige’s hairline aesthetic. **Selected state.** Use a solid 2 pixel border in your accent color for the selected swatch. Avoid filled backgrounds, which clash with Prestige’s restraint. **Spacing.** Prestige uses generous gaps between elements. Set swatch gap to 12 or 16 pixels rather than the default 8. The swatch click event fires `rubik-swatch-clicked` with four properties: optionName, optionValue, optionValueId, and element. Use it to update Prestige’s other product page elements like sticky carts or color name labels. For the broader swatch design conversation, the [AI auto-assign post](/rubik-ai-auto-assign-variant-images/) covers how the per-product AI flow handles edge cases on product pages with custom UI.Troubleshooting Prestige-specific issues
A few things come up specifically on Prestige. **Sticky gallery not refreshing.** If your sticky gallery does not refresh on variant change, Prestige is using a cached image. Rubik writes the variant images to a metafield that the theme can read. Some Prestige customizations need a small re-bind after variant change. Most installs work without this, but check the sticky behavior on a real product before rolling out. **Vertical rail showing all images.** If the rail still shows every image after install, your Prestige theme has a custom rail snippet that does not honor the Rubik filter. Add the Rubik filter class to the rail snippet. The setup docs cover the exact selector. **Image swatches breaking the layout.** Prestige’s product info column is narrow. Image swatches at default size can wrap awkwardly. Reduce the swatch size to 48 pixels and limit to four per row. **Variant picker double rendering.** If you replace Prestige’s picker with Rubik swatches and the original picker is still visible, the theme’s product form has two separate variant selectors (one for desktop, one for mobile). Hide the unused one with display none in your theme settings. **Quick view modal.** Prestige’s quick view loads a simplified product form into a modal. Rubik swatches usually appear, but if your store uses a custom quick view, add the swatch container to the modal template. For more troubleshooting patterns that apply across themes, the [complete variant images guide](/shopify-variant-images-complete-guide/) is a good companion.Real-world example: a luxury apparel brand on Prestige
A premium womenswear brand on Prestige had 220 products across knitwear, dresses, and outerwear. Most products had three to six color variants. Each color had four photos: front, back, fabric detail, and a lifestyle shot. Before Rubik, the gallery showed all 16 to 24 images per product regardless of selected variant. Customers picked a color, the main image jumped, and the rail still showed everything. Brand felt premium but the product page felt cluttered. They installed Rubik and ran AI auto-assign on their top 20 hero products one by one. The AI read the product names, variant names, and image alt text and grouped the photos correctly on 18 of the 20. Two products needed manual fixes. For the rest of the catalog they ran bulk assign. The bulk job read their gallery order, detected the featured image boundaries they had set up consistently, and grouped images across the full catalog in about 25 minutes. After install, picking olive showed only the four olive images. Picking cream showed only the four cream images. The vertical rail filtered in sync. The editorial story Prestige is built for finally worked.Quick helpers before you wire this up: try our free theme compatibility checker and variant image checker. For the deeper background on this topic see our list of all Shopify theme store IDs guide.