
How to check variant image setup on Shopify
You uploaded product images. You created variants. But when a customer selects “Red” on your product page, do they see only the red product photos? Or do they see every color mixed together in a messy gallery?
Most Shopify merchants assume their variant images are set up correctly just because images appear on the product page. But “images exist” and “images are correctly assigned to the right variants” are two very different things. A broken setup means customers see irrelevant photos, get confused, and leave.
This guide shows you exactly how to check your variant image setup, identify problems, and fix them – whether you have 5 products or 5,000.
In this post
- Why variant images matter
- How to check variant images in Shopify admin
- Use the Variant Image Checker tool
- Understanding image-to-variant ratio
- Common issues you will find
- How to fix variant image problems
- Automate the fix with Rubik Variant Images
- Video walkthrough
- Frequently asked questions
- Related reading
Why variant images matter
Variant images are the connection between what a customer selects and what they see. When someone picks “Navy Blue” on your product page, they expect the gallery to update and show only navy blue photos. If the gallery still shows every color, the customer has to scroll through irrelevant images and figure out which ones match their selection.
This is not just a design issue. It directly affects conversion rates. Products with properly assigned variant images consistently outperform products where all images show regardless of selection. Customers trust what they see. If the gallery feels disorganized, the product feels untrustworthy.
Correct variant image setup also matters for SEO and accessibility. Google Shopping uses variant images to display the right product photo in shopping results. If your blue shirt variant links to a red shirt photo, your Google Shopping listing shows the wrong color.
How to check variant images in Shopify admin
Start with a manual check on your most important products. Open any product in your Shopify admin and scroll to the Variants section.
Step 1: Check if variants have assigned images
Click on each variant row. Look at the image field. If it is empty, that variant has no image assigned. Shopify will show the product’s first image as a fallback, which may be completely wrong for that variant.
Step 2: Verify the correct image is assigned
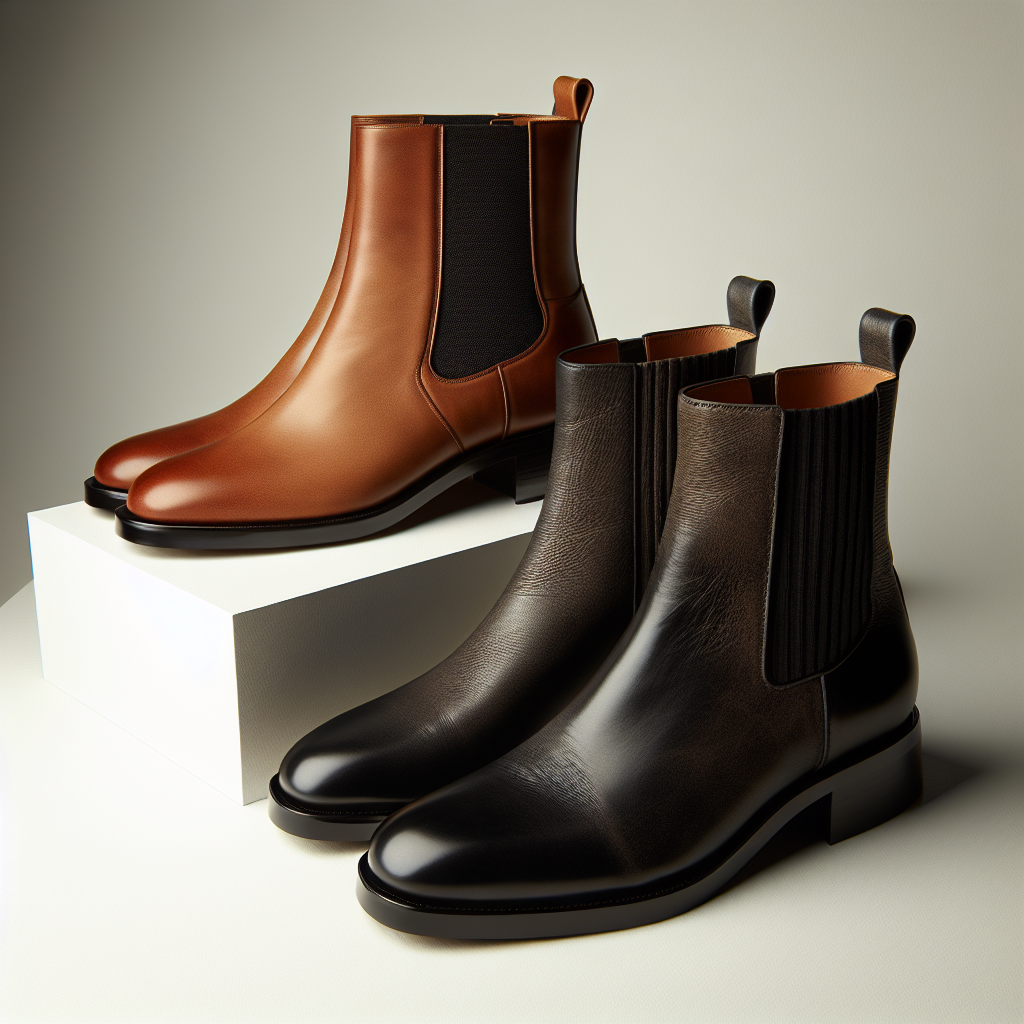
An assigned image is not the same as the right image. Click through each variant and confirm the image matches the option. Your “Forest Green / Large” variant should show a forest green photo, not a charcoal one. This sounds obvious, but it is surprisingly common to find mismatches after bulk edits or CSV imports.
Step 3: Count images per variant
Here is the catch. Shopify natively allows only one image per variant. If your blue t-shirt has 5 photos (front, back, detail, lifestyle, flat lay), only one of those can be assigned to the variant. The other 4 photos sit unassigned in the gallery and show up for every variant. Use the Variant Image Calculator to figure out how many images each variant should ideally have.
Use the Variant Image Checker tool
Checking every variant by hand works for 5 products. It does not work for 500. The Variant Image Checker tool on our site lets you quickly audit your setup without clicking through every variant individually.
The tool helps you identify products where variants are missing image assignments, products where the image-to-variant ratio is off, and products where the same image is assigned to multiple unrelated variants. If you want a broader audit of your product images beyond just variants, CraftShift’s image audit guide covers the full process.
Understanding image-to-variant ratio
The image-to-variant ratio tells you whether you have enough images to properly represent each variant. A simple example: if your product has 4 color variants and 12 images total, the ratio is 3 images per variant. That is solid.
But if your product has 4 color variants and 5 images total, you have just over 1 image per variant. That means customers selecting most colors will see only one photo. For apparel, furniture, and accessories, that is usually not enough. Most shoppers want to see at least 2-3 angles before deciding.
The ideal ratio depends on your product type. Simple items like phone cases or stickers can work with 1-2 images per variant. Clothing and footwear typically need 3-5 images per variant. Furniture and home decor might need 4-6. Use the Variant Image Calculator to plan your image budget against Shopify’s 250-image limit per product. For more on this, read our guide on how many images per variant.
Common issues you will find
No images assigned at all
This is the most frequent problem. Images were uploaded to the product but never linked to specific variants. Every variant falls back to the first image in the gallery. Customers see the same hero shot no matter which color they select.
Wrong images assigned
A CSV import or bulk edit mixed up the assignments. The “Blue” variant shows a red image. The “Small” variant shows the lifestyle photo that was meant for “Large.” These mismatches confuse customers and cause returns. They are also easy to miss because you might not click through every variant after a bulk update.
Shared images with no variant filtering
You have 20 images in the gallery but no way to filter them by variant. When a customer selects “Red,” they see all 20 images – including every blue, green, and black photo. This is actually the default Shopify behavior. Without a variant image app, there is no built-in way to show only selected variant images on the product page.
Duplicate images wasting your limit
Shopify caps each product at 250 images. Some merchants upload the same photo multiple times – once for each variant – instead of assigning a single upload to multiple variants. This eats into your image limit fast. If you are approaching the cap, check for duplicates first.
How to fix variant image problems
Manual fix in Shopify admin
For a few products, you can fix assignments directly. Open the product, click on each variant, and select the correct image. Remember, Shopify only lets you assign one image per variant natively. If you need multiple images per variant, you need an app.
Bulk fix via CSV
Export your products as CSV, update the “Image Src” column for each variant row, and re-import. This is faster for large catalogs but error-prone. One wrong row and you break multiple products. Always back up your product data before a CSV import.
Fix with Rubik Variant Images
The fastest path is Rubik Variant Images. The app goes beyond Shopify’s one-image-per-variant limitation and lets you assign unlimited images, videos, and 3D models to each variant. When a customer selects a variant on the product page, only the matching media appears in the gallery.
Rubik also includes an AI auto-assign feature that analyzes your product photos and matches them to the correct variants automatically. For stores with hundreds of products, this turns a week-long task into a few minutes.
Automate the fix with Rubik Variant Images
Here is how to set it up:
- Install Rubik Variant Images from the Shopify App Store
- Open a product and go to the Rubik configuration panel
- Drag and drop images to the correct variant groups, or use AI auto-assign
- Save and preview on your live product page
All data is stored in Shopify metafields. That means the images load with metafield-based loading and no external API calls – the gallery updates as fast as your theme renders. There is no performance penalty. Learn more about speed optimization in our Shopify speed guide.
Pricing starts at Free ($0) for 1 product, Starter ($25/month) for up to 100 products, Advanced ($50/month) for up to 1,000 products, and Premium ($75/month) for unlimited products.
Keep in mind that Rubik Variant Images works on product pages only. If you need variant swatches on collection pages, check out Rubik Combined Listings which is purpose-built for collection page swatches.
Video walkthrough
Watch the general setup process for Rubik Variant Images:
Frequently asked questions
How do I know if my variant images are set up correctly?
Open your product in Shopify admin and click on each variant. Check if an image is assigned and whether it matches the variant. You can also use the Variant Image Checker tool to audit multiple products at once.
Can I assign more than one image per variant on Shopify?
Not natively. Shopify only allows one image per variant out of the box. To assign multiple images per variant, you need an app like Rubik Variant Images.
What is a good image-to-variant ratio?
It depends on your product type. Phone cases and accessories work fine with 1-2 images per variant. Apparel needs 3-5 images per variant (front, back, detail, model shot). Furniture and high-ticket items benefit from 4-6 images per variant.
Does checking variant images affect my store’s performance?
No. Auditing your variant image setup is done in the Shopify admin or with tools. It does not affect your storefront speed. Fixing your setup, however, will improve the customer experience because they see the right images faster.
What happens when a variant has no image assigned?
Shopify falls back to the product’s first image. This means every variant without an assigned image shows the same default photo. Rubik Variant Images handles this differently – it can show a color swatch or text pill as fallback while keeping the gallery filtered to relevant images.
Can I bulk check variant images across my entire catalog?
Yes. Export your products as CSV and check the “Image Src” and “Variant Image” columns. Alternatively, use the Variant Image Checker for a faster visual audit. For stores with 100+ products, the Rubik app’s dashboard gives you a product-by-product overview of image assignments.
Does Rubik Variant Images work on collection pages?
No. Rubik Variant Images works on product pages only. For collection page swatches, you need Rubik Combined Listings, which is a separate app designed specifically for that purpose.