Shopify Multiple Variant Images & Variant Image Swatch Guide (2025)
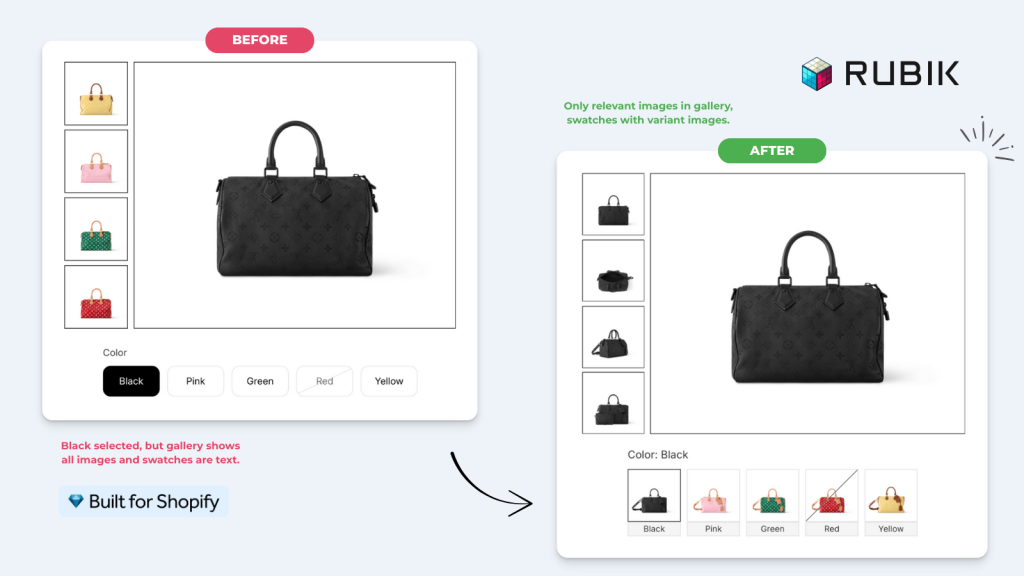
So, if you are here, I’m guessing you have a product with more than one variant. It might be color, style, or anything else, and you are searching for how to show only the specific variant in your variant image gallery. In the default Shopify setup, without an app or customizations, all images are shown, no matter which variant is selected. If that’s the case, you are in the right place! Let’s get into it.
Nowadays, reading long texts can feel difficult for some people. I am trying to write with the fewest but most understandable words. Still, if you feel bored while reading, you can also watch our YouTube video where we explain the whole process in detail.
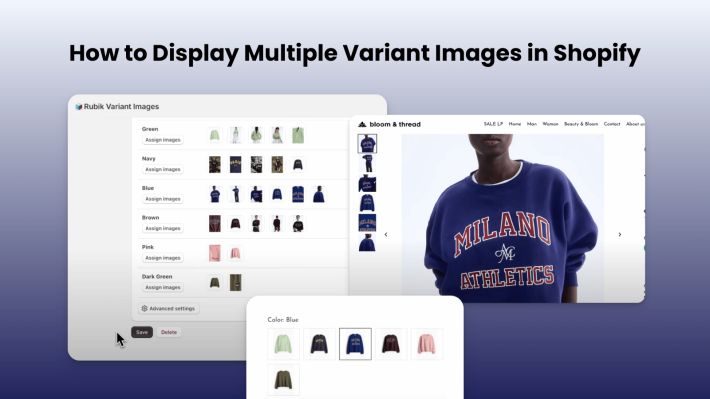
First of all, you have to install our app called “Rubik Variant Images & Swatch“. You can find it on the Shopify App Store, search from your admin top bar, or simply click here. After installation, just select your first product and start setting it up.
Basically, select all images for the relevant variants by clicking the Assign Image button. We also have an Auto Assign feature that helps automate assigning images to variants, which is especially useful for color-based images.
You can also set up products with multiple variant combinations, like Color + Style. For example, if you have different images for Black + Circle, Black + Square, and Red + Circle, you can easily set up variant-specific images for these selections.
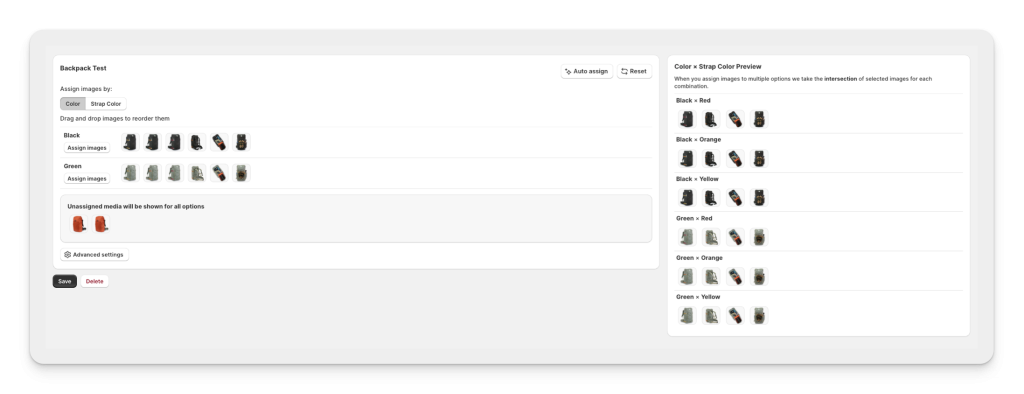
Also, if you have common images like size charts, you can leave these images unassigned. Unassigned images are shown on all variants by default (you can disable this feature in the settings on the left menu).
If you want to assign an image to multiple variants but not to all variants, you can enable the Multiple Assign feature in the settings.
After you assign all relevant images to variants, just click Save, and that’s it! The only thing left is to enable the app embed on your theme. Once you do that, only the relevant variant images will be shown on your Shopify store.
There might be cache on your product page. If you don’t see any changes after checking, please wait a few minutes and refresh your page a couple of times.
SWATCH (Variant Selector) With Variant Images
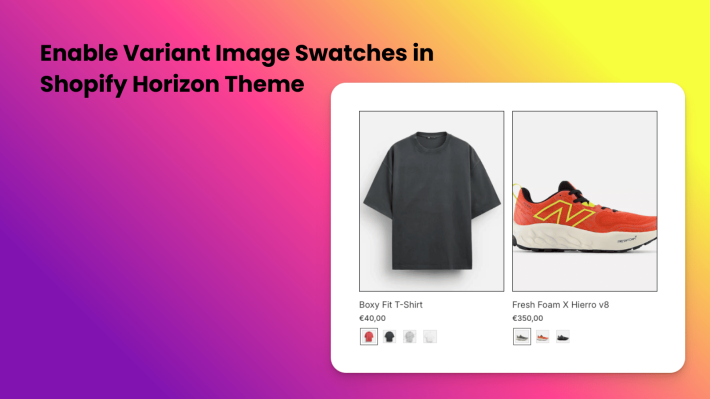
Now that we have set up our multiple variant images, we can also replace the boring text or color-based variant selector with variant image swatches.
This is how it looks before enabling the swatch feature:

So, let’s click on Swatch (Variant Picker) in the left menu. On the page that opens, click the Enable button and activate the app embed on your theme.
The last step is to add the option name of your product (for example, Color as shown here) to the option box. After adding the option name, click Save, and the swatches will start showing with the variant images.

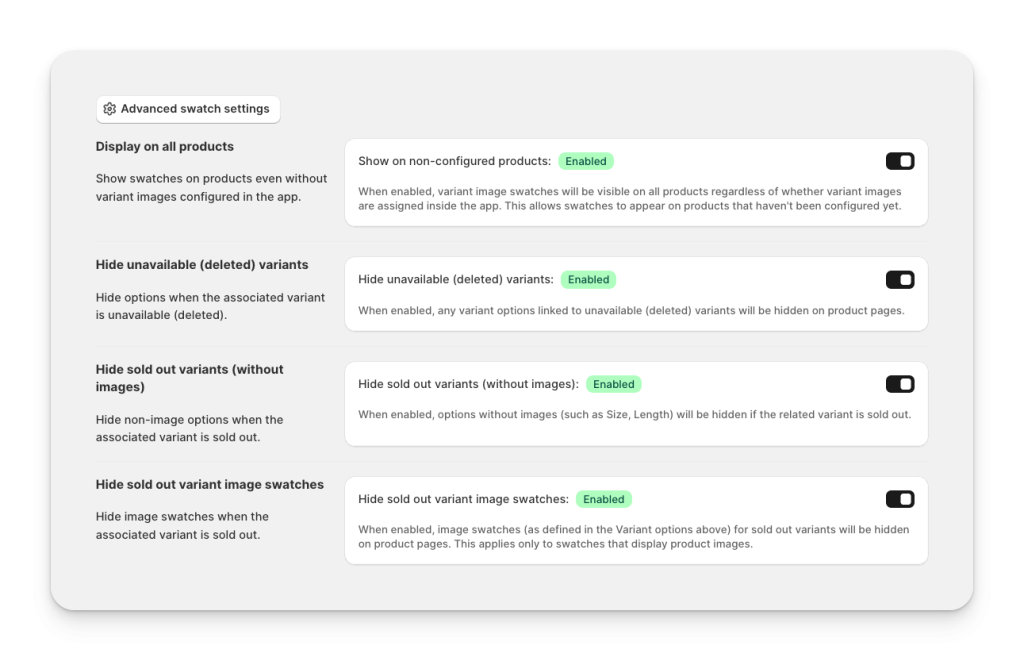
Swatches are enabled only on configured products by default. If you want to show image swatches on all of your products, you can enable the first option in Advanced Settings (make sure your products have main variant images).
If you have unavailable or sold-out variants, you can also hide them by enabling the related options in Advanced Settings.
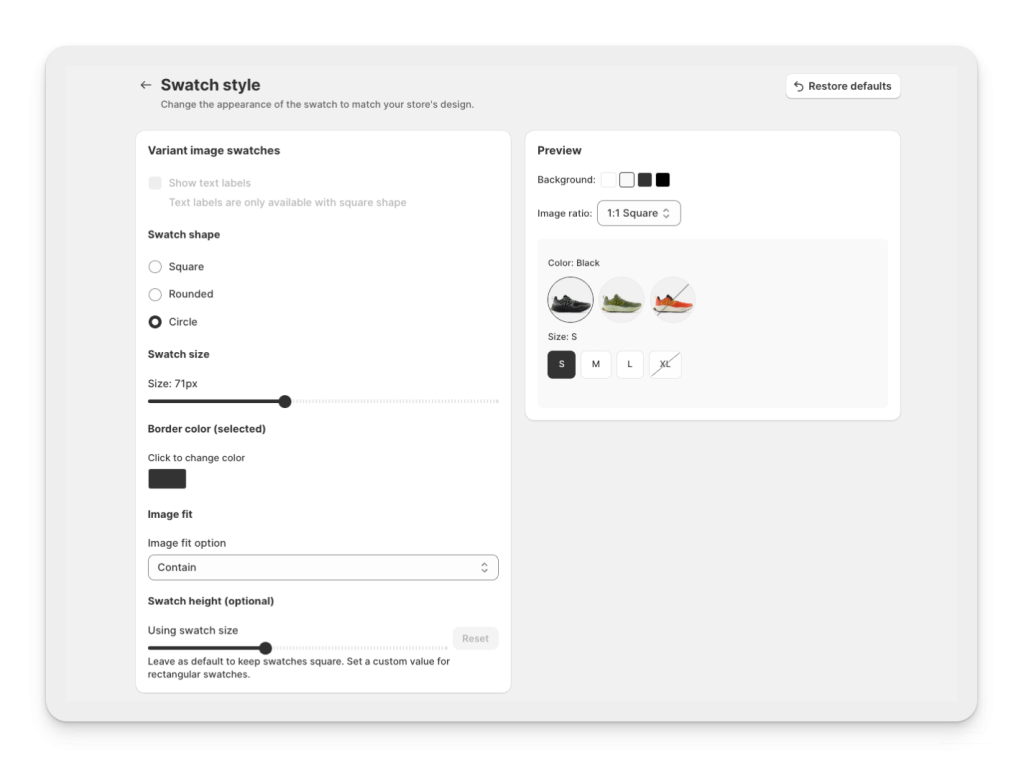
You can also change the swatch style. There are lots of options to customize your swatches. You can make them square, circle, text-based, and more. Just click on the Customize Appearance button on the top right and adjust your swatch styles.
So that’s all! Your Shopify store is now ready with a fully optimized variant image gallery. By using variant-specific galleries and variant image swatches, you can give your customers a cleaner shopping experience and help them see only the images that matter. This not only makes your product pages look more professional but also improves conversion rates and reduces returns.


